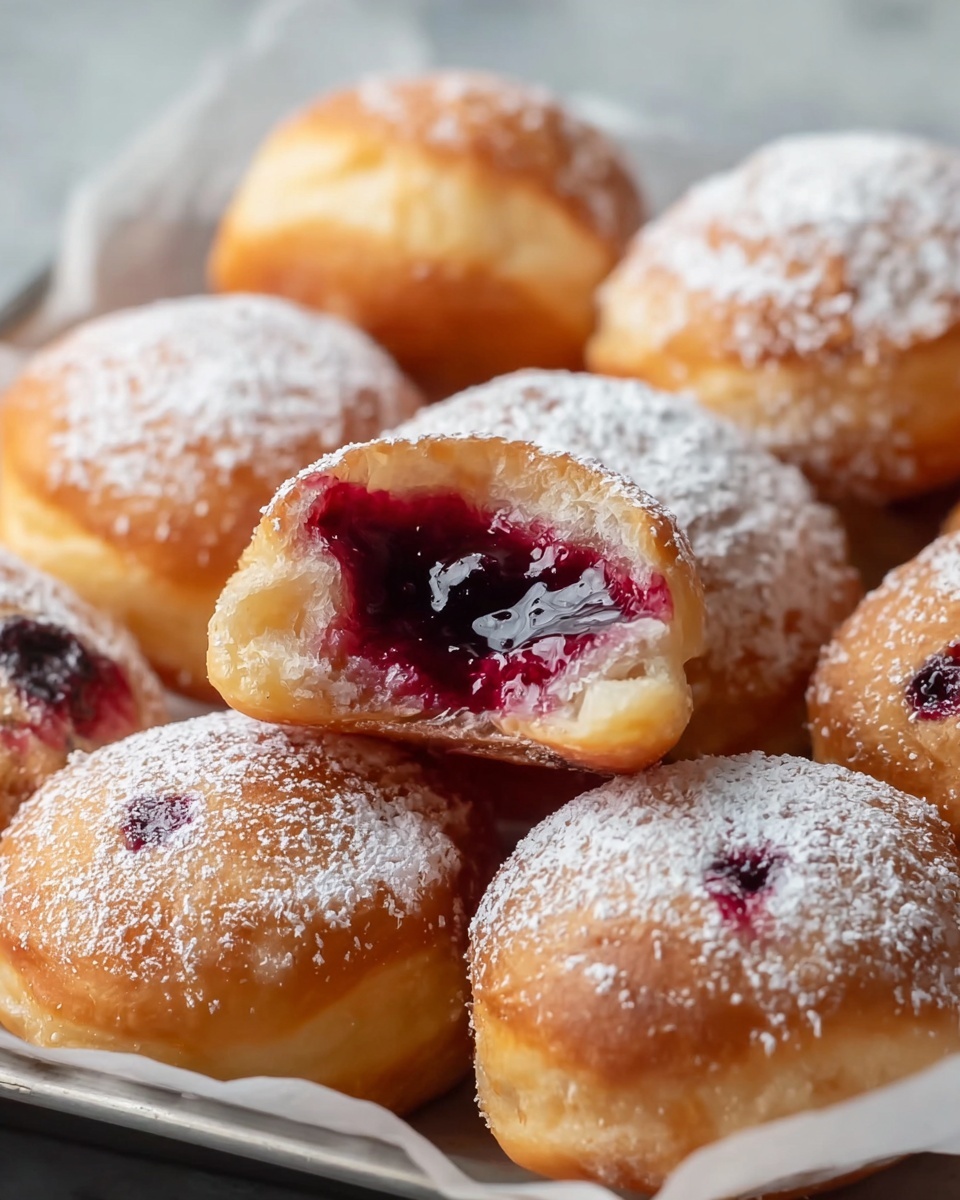
If you love bite-sized treats bursting with that classic cherry pie flavor, you are going to adore this Delicious Cherry Pie Bites Recipe. These little gems are perfect for parties, quick desserts, or just any time you want a sweet, satisfying nibble. Flaky, buttery crust meets a luscious cherry filling that’s cooked just right to be thick and glossy. It’s a recipe that’s simple enough to whip up on a weekday but special enough to wow a crowd. Trust me, once you try these, they’ll become your go-to dessert whenever cherries come calling.
Ingredients You’ll Need
All the ingredients for this recipe are straightforward and easy to find, but each plays a crucial role in balancing the flavor and texture of your cherry pie bites. From crisp pie crust to the dreamy cherry filling, every component is essential.
- Refrigerated pie crusts: These provide the flaky, buttery base that holds all the cherry goodness—convenient and reliable.
- Cherry pie filling (about 21 oz): This canned filling adds that perfect sweet-tart cherry flavor and juicy texture.
- Cornstarch: A thickening hero that ensures your cherry filling isn’t runny but nice and glossy.
- Water: Used to activate the cornstarch, helping the filling set up beautifully.
- Sugar (optional, for topping): A sparkling touch to add a little crunch and sweetness on top of your golden bites.
How to Make Delicious Cherry Pie Bites Recipe
Step 1: Prepare Your Oven and Mini Muffin Tin
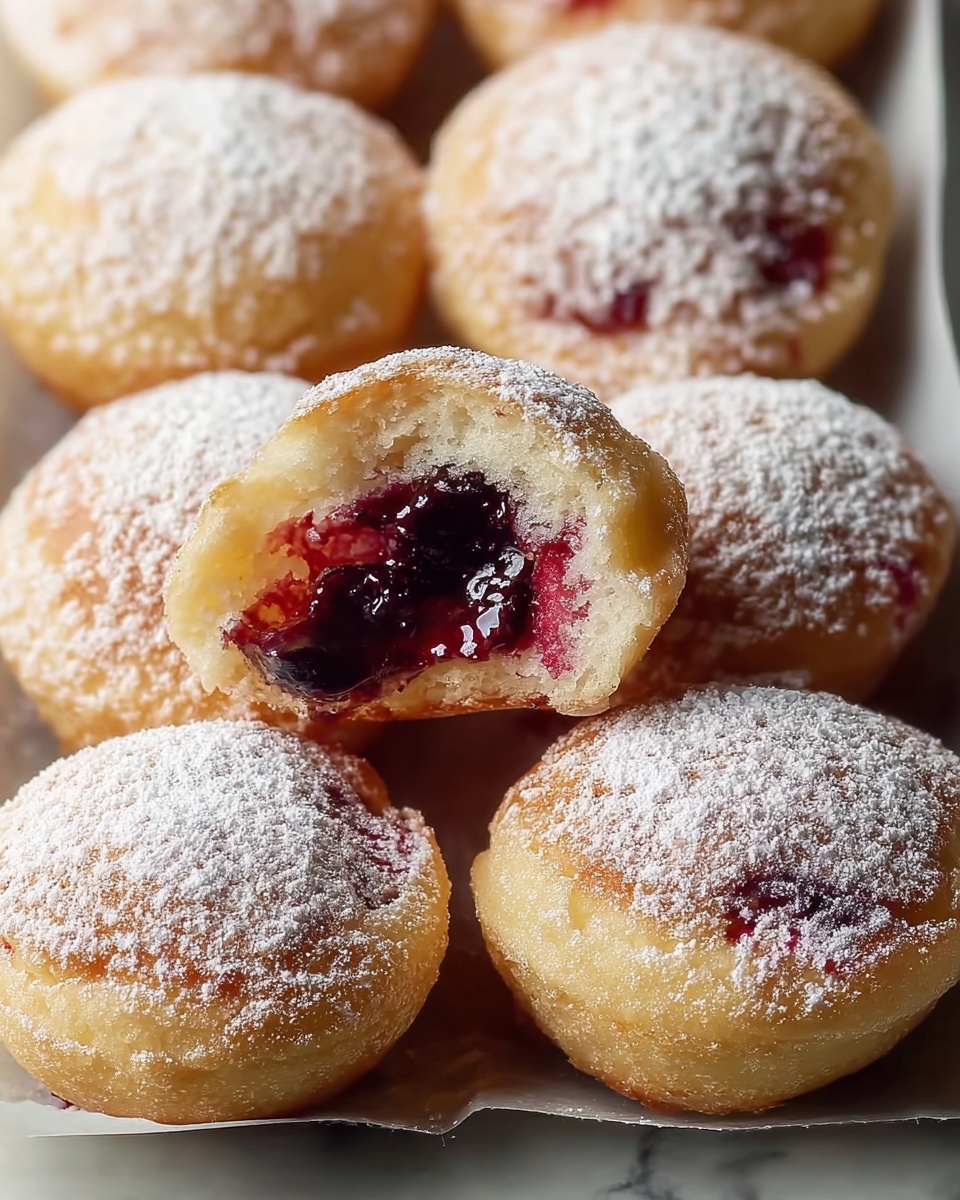
First things first, preheat your oven to 375°F (190°C). This ensures a hot environment ready to give your pie crusts that golden, flaky finish. Grease your mini muffin tin well or line it with mini muffin liners to keep each bite from sticking and to make removal a breeze.
Step 2: Cut the Pie Crusts
Unroll those refrigerated pie crusts and grab a cookie cutter or a glass about 2 inches in diameter. Cutting uniform circles helps your pie bites cook evenly and gives a professional look. Don’t worry if they aren’t perfect—they’ll taste amazing regardless.
Step 3: Thicken the Cherry Filling
In a small saucepan, combine your cherry pie filling with cornstarch and water over medium heat. Stir constantly until the mixture thickens and gives off a lovely glossy sheen, about 3 to 4 minutes. This step is key because it keeps the filling from becoming runny inside the bites and intensifies that fantastic cherry flavor.
Step 4: Line the Muffin Tin with Pie Crust
Gently press each pie crust circle into the mini muffin cups, shaping them like tiny shells. This base is what will hold all your sweet cherry filling, so be gentle but thorough to avoid tears.
Step 5: Fill with Cherry Mixture
Using a spoon, carefully fill each dough “shell” with a small amount of your thickened cherry filling. Don’t overfill to prevent spillage, but be generous enough for a satisfying burst of cherry in every bite.
Step 6: Bake Until Golden Brown
Pop your tray into the oven and bake for 15 to 18 minutes. You’ll know they’re ready when the crust turns a perfect golden hue and the cherry filling bubbles happily. That bubbling filling is a signal that these cherry pie bites are packed with all the flavors you’re craving.
Step 7: Add a Finishing Touch
Once out of the oven, sprinkle a little sugar on top if you fancy a sparkly sweet crunch, then allow the bites to cool for a few minutes. This wait not only helps them set but also lets those flavors meld beautifully.
How to Serve Delicious Cherry Pie Bites Recipe
Garnishes
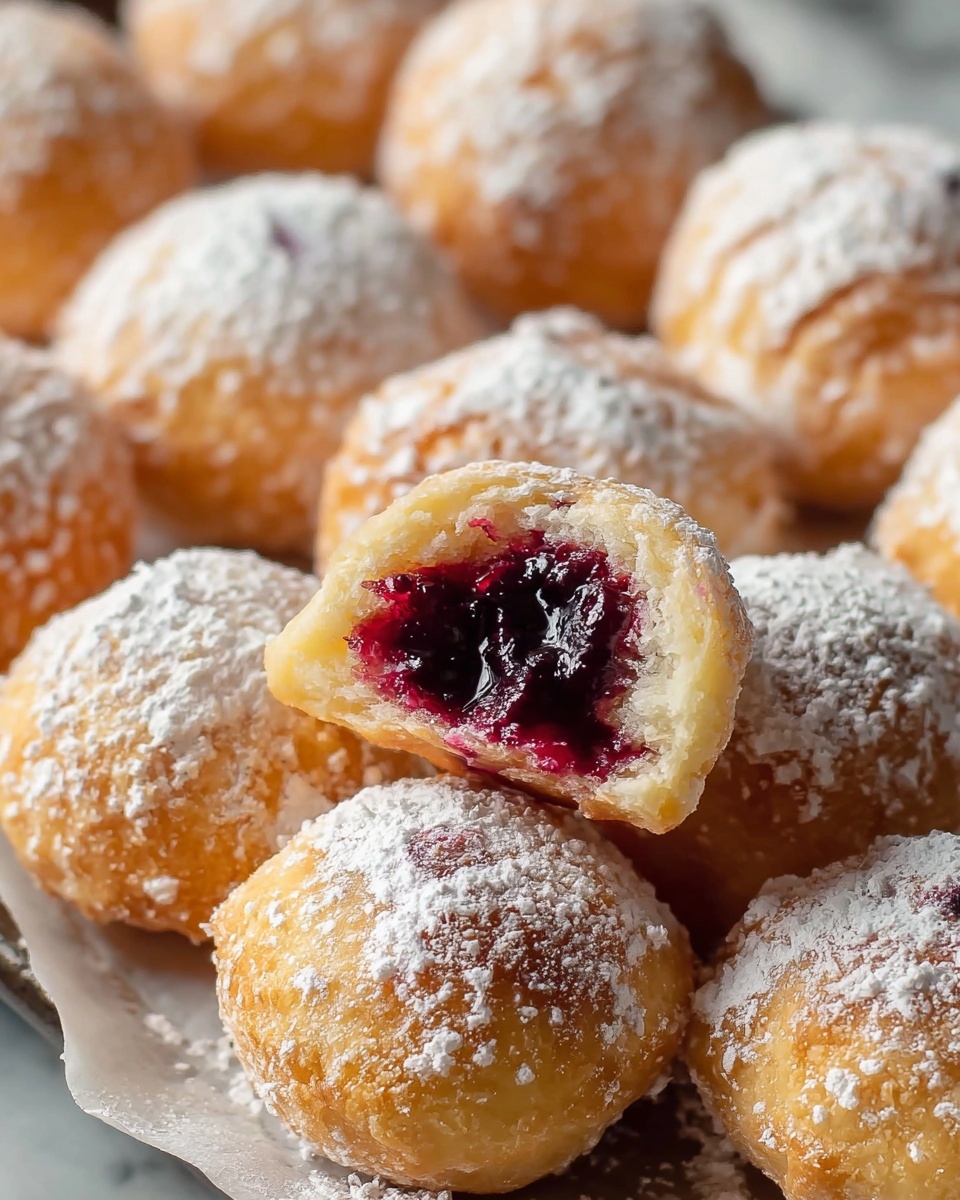
For an elegant touch, dust your cherry pie bites with powdered sugar or add a small dollop of whipped cream beside each one. Fresh mint leaves can also provide a lovely contrast in color and a hint of refreshing aroma that pairs beautifully with the tangy cherry filling.
Side Dishes
Serve these cherry pie bites alongside a scoop of vanilla ice cream or a drizzle of warm caramel sauce for an indulgent dessert experience. Pairing with a fruity punch, such as a sparkling lemonade with fresh raspberries, can balance the sweetness perfectly during a summertime gathering.
Creative Ways to Present
If you’re hosting, consider placing these bites on tiered dessert stands or arranging them on a rustic wooden board with fresh cherries and edible flowers. You can also serve them in mini cupcake liners for easy handling or as part of a dessert buffet where guests can grab and go.
Make Ahead and Storage
Storing Leftovers
These cherry pie bites keep wonderfully in an airtight container at room temperature for up to two days. If you want to preserve their freshness longer, moving them to the refrigerator is a great idea; they’ll stay tasty for about 4 days.
Freezing
If you want to make these ahead for a special occasion, freezing is your friend. Place cooled pie bites on a baking sheet to freeze individually, then transfer them to a freezer-safe container or bag. When properly stored, they keep well for up to two months.
Reheating
To enjoy your frozen or refrigerated bites, gently reheat them in the oven at 325°F (160°C) for about 8 to 10 minutes until warm and crispy again. Avoid microwaving if possible to maintain that perfect flaky crust texture.
FAQs
Can I use fresh cherries instead of canned pie filling?
Absolutely! You can make your own cherry filling with fresh or frozen cherries by simply cooking them down with sugar and cornstarch until thickened. Just keep in mind it will require more time and attention than using canned filling.
Are these pie bites gluten-free?
This recipe as written uses traditional refrigerated pie crusts that contain gluten. However, you can substitute a gluten-free pie crust to adapt the recipe if needed.
Can I make these pie bites dairy-free?
Yes, many refrigerated pie crust brands offer dairy-free options. Just be sure to check the label, and you can enjoy these cherry pie bites without worry.
What’s the best way to prevent the crust from getting soggy?
Thickening the cherry filling with cornstarch and preheating your oven adequately helps a lot. Also, don’t overfill the crusts, and bake until the crust is nicely golden to ensure crispness.
Can I double the recipe for a larger batch?
Definitely! This recipe scales up easily—just make sure to have enough mini muffin tins or bake your batches in shifts. Freshly baked batches taste best, so avoid overcrowding the oven.
Final Thoughts
I truly hope you give this Delicious Cherry Pie Bites Recipe a whirl because it’s one of those simple pleasures that instantly brighten your day with every bite. Whether for a casual family dessert or a festive gathering, these cherry pie bites deliver charm, flavor, and that warm, homemade feeling we all love. Happy baking and even happier snacking!
Print
Delicious Cherry Pie Bites Recipe
- Prep Time: 10 minutes
- Cook Time: 18 minutes
- Total Time: 28 minutes
- Yield: 12 servings
- Category: Dessert
- Method: Baking
- Cuisine: American
Description
These Delicious Cherry Pie Bites are a perfect bite-sized dessert made with flaky refrigerated pie crusts and a luscious homemade cherry filling. They are easy to prepare, baked until golden and bubbly, and ideal for parties, snacks, or a sweet treat anytime.
Ingredients
Pie Crust
- 1 package refrigerated pie crusts
Cherry Filling
- 1 can cherry pie filling (about 21 oz)
- 1 tablespoon cornstarch
- 1 tablespoon water
Topping
- 1 tablespoon sugar (optional, for topping)
Instructions
- Preheat Oven: Preheat your oven to 375°F (190°C). Grease a mini muffin tin or line it with mini muffin liners to prevent sticking.
- Prepare Pie Crust Circles: Unroll the refrigerated pie crusts and cut them into small circles approximately 2 inches in diameter using a cookie cutter or the rim of a glass.
- Make Cherry Filling: In a small saucepan, combine the cherry pie filling, cornstarch, and water. Heat over medium heat while stirring constantly until the mixture thickens, about 3 to 4 minutes. Remove from heat and let it cool slightly to prevent soggy crusts.
- Fill Mini Muffin Tins: Place each pie crust circle into the cups of the mini muffin tin, gently pressing down to form little cups that will hold the filling.
- Add Cherry Filling: Spoon a small amount of the thickened cherry filling into each crust-lined muffin cup, taking care not to overfill.
- Bake: Bake in the preheated oven for 15 to 18 minutes, or until the pie crusts turn golden brown and the cherry filling is bubbly and set.
- Finish and Cool: Optionally sprinkle the tops with sugar for added sweetness and crunch. Allow the cherry pie bites to cool for a few minutes before removing them from the muffin tin and serving.
Notes
- Ensure the cherry filling is thickened properly to avoid soggy crusts.
- You can use mini muffin liners to make removal easier and cleanup quicker.
- If you prefer, substitute sugar topping with a light dusting of powdered sugar after baking.
- These bites taste best served warm or at room temperature.
- Store leftovers in an airtight container at room temperature for up to 2 days or refrigerate for up to 4 days.


